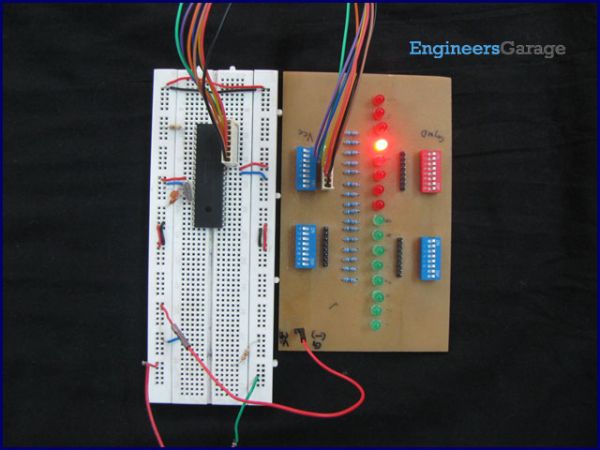
Timers as the name suggests pertain to time-related operations. They are mostly used for exact delay generation. Timers are also used in various other operations like PWM signal generation, auto-triggering of several other peripherals etc. The working and configuration of PIC18F4550 Timers have been explained in this article.
Timers are the most essential peripheral for a microcontroller and every controller provides a provision for using them. Beginners are advised to go through the tutorial on Timers before going any further.
For basic Timer operations, refer the Tutorial on Timers. PIC18F4550 is equipped with four Timers namely, Timer0, Timer1, Timer2 and Timer3. Before going for the details of Timer configurations, it is important to learn how time delay is calculated by the timer since exact delay generation is the most common application of Timers.
Time Delay calculation with Timer:
Example: Given that a time delay of 1 sec is to be generated and a 12MHz crystal oscillator is connected with PIC. Please note that this example considers external clock source for the controller, however, PIC18F4550 has provision for both external as well as internal clock source.
Timer is related to the internal frequency which is always Fosc/4.
Clock source frequency (Crystal)
Fosc = 12 MHz = 12000000 Hz
Therefore, Timer frequency :
FTimer = Fosc / 4 = 12000000 / 4 = 3000000 Hz = 3 MHz
If Prescaler = 1:256, then
FTimer= 3000000 / 256 = 11718.75 Hz
So, the time interval :
TTimer = 1 / FTimer = 1 / 11718.75 = 85 us (microseconds)
This means that when Timer runs, it will take 85 ?secs to increment its value at every count.
To calculate the value to be filled in Timer rolling over register to generate 1 sec delay :
No. of count for 1 sec Delay = 1sec / 85 us = 11718.75 = 2DC6H
So the value to be filled in Timer’s 16 bit register = FFFF – 2DC6
= D239
These values are filled in the Timer register and it rolls over up to FFFF. The values are reloaded again to start timer for same delay. Before filling this value timer registers should be configured as we shall see.
Each of the four Timers of PIC18F4550 has certain special features some of which are explained below. The detailed list of these features can be obtained from PIC18F4550 datasheet.
Timer0:
· Timer0 can work as Timer/Counter in both 8-bit and 16-bit modes
· Dedicated 8-bit, software programmable prescaler
· Selectable clock source (internal or external)
· Interrupt on overflow
Timer1:
· Timer1 can work as 16-bit timer or counter
· Readable and writable 8-bit registers (TMR1H and TMR1L)
· Selectable clock source (internal or external)
· Alternate clock source can be provided at Timer1 oscillator pins (T1OSO & T1OSI)
· Interrupt on overflow
· Timer1 can be multiplexed with other peripherals like ADC etc. and generates special event triggering for CCP (Capture, Compare and PWM) events.
For more detail: How to use Timers in PIC18F4550 Microcontroller
The post How to use Timers in PIC18F4550 Microcontroller appeared first on PIC Microcontroller.

